I’ve always appreciated the natural beauty and scenic wonders that mother earth provides. When I was younger, growing up in my home state of New Hampshire, I had access to the mountains, the woods, and the sea. However, I wanted something more later in life and opted for the city life in my twenties. Moving from a small town in NH to one of the biggest cities in the U.S., Philadelphia, wasn’t as delightful as I had hoped.
For one, I found out just how little patience I have for the constant traffic and waiting in lines that comes with living in a large city. Also, I began to miss the peace and quiet after years of various noises at all hours of the day. So whenever there is an opportunity to reconnect with nature, I’m all in. Now that I’ve been using kettlebells for nearly two years, I figure it is as good a time as any to further challenge myself.
The Inspiration for Hiking with a Kettlebell
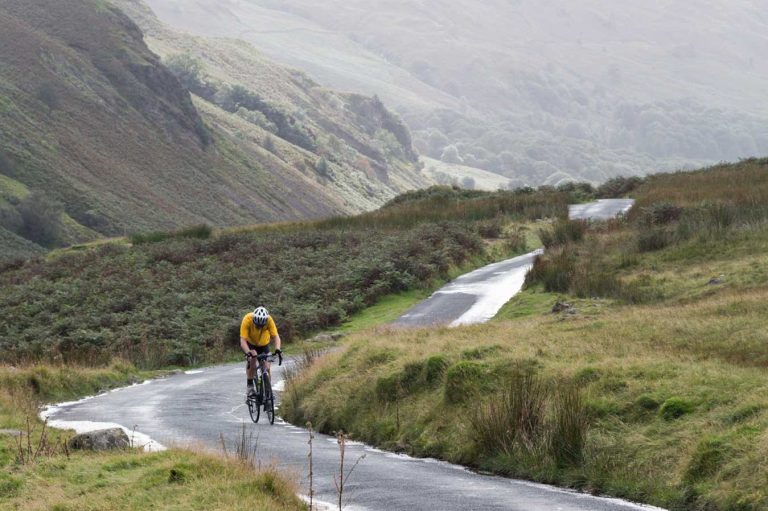
This isn’t an idea that I came up with all on my own. Rather, I owe thanks to Taco Fleur who has taken his kettlebells on all sorts of adventures. Seeing photos of him with his kettlebells atop mountains with breathtaking views made me think, “I could give this a shot!”. Obviously, I’m not the first person to hike with a kettlebell. However, hiking up Mt. Major with a kettlebell? Maybe. The first documented kettlebell hike up Mt. Major? Most likely yes!

Taco Fleur on one of his many kettlebell adventures.
Planning the Hike
This wasn’t the first time I hiked Mt Major. Located in the picturesque town of Alton, New Hampshire, my first encounter with this mountain was back in the summer of 2016. Just a little over 3 years ago. At the time, I was at my heaviest (around 265 lbs.) and was accompanied by my wife and daughter. The hike was described as moderate but it proved to be much more difficult than what my wife and I expected.
Both of us weren’t in the best of shape. Later on in this post, I’ll share some before and after photos of the hike. It’s pretty amazing to see what a difference in appearance we’ve both made. I expected this time around that the weight we’ve lost since would make it much easier and I would be able to bring a kettlebell along for the journey without much hindrance.
The main question I asked myself was what size kettlebell should I bring? Since I’ve only started using my 45 lb. kettlebell for around a month, that was definitely not going to happen. Perhaps the 35 lb. kettlebell? Still too heavy in my opinion. After conferring with Taco I decided that the 25 lb. kettlebell was a good fit. That’s on the lighter side of what I would workout with but this is an endurance test, not my typical 20-minute kettlebell workout sessions.
Considering that the elevation gain is 1,148 feet and the Brook Trail Loop is approximately 3.7 miles, this wasn’t going to be some quick little jaunt. The image you see below is a recording of our journey. I’ll let you know the total time at the end of this post.

Our trail loop as recorded by the AllTrails app.
The Ascent

At the base of Mt. Major to start our trek.
My wife had let me know from the beginning that I was on my own as far as carrying the kettlebell. Although we could certainly rest along the way, it was my responsibility alone to lug it around. Initially, she thought that I would be carrying it in a backpack. When I told her I would be carrying it with my hand, naturally, there was some concern.
That’s part of the challenge, having only one free hand for balancing and bracing myself. After all, I could’ve just loaded up my backpack with different objects to reach a set weight. In order to get the full benefits of hiking with a kettlebell, it had to be carried by hand. This would help improve grip strength but also allow me to shift the kettlebell from one hand to the other to help combat fatigue.
A rocky start
Right out of the gate hikers are faced with a steep uphill climb that features many small boulders along the path. This can make it a little tricky to get your footing and forces you to tread carefully to avoid tripping. This came as no surprise since it stuck in my head from our first time hiking this mountain.
Along the way, I posed for some pictures while performing a couple of kettlebell moves. My expression while doing the kettlebell swing in the first photo is priceless! I can’t help but conjure up thoughts of bigfoot sightings and wonder what people might have thought had they witnessed me swinging my kettlebell around.

What savage beast is this?!

Time to press on!
The Last Leg of the Climb
A little over halfway during the ascent, the main trail (blue route) splits off. Hikers can continue on the steeper and more difficult terrain to reach the summit, or they can take the longer (definitely not easy) yellow route. We opted to continue on the blue route as we did the first time.

The 3 routes of Mt. Major.
The last push on the main trail before you get to the top involves giant slabs of rock that you’re forced to traverse. These rocks are sloped at various degrees and provide little to no grip for your feet as you work your way up. It was definitely the most challenging part of the ascent.
I told my wife that if I were to lose my balance and start to fall that the kettlebell would be dropped. While there were some hikers we encountered, it wasn’t so packed that I needed to worry about falling into them. What really shocked me is that we not only saw plenty of dogs but also infants carried cradle-style by their presumed fathers. I recall at least seeing two! It was unbelievable. I kept thinking that if they were to slip there would be no way for those guys to brace themselves. Unreal!
The Summit

Rest time at the top of the mountain.
All things considered, I think we made pretty good time by reaching the summit in approximately an hour and a half. We were fortunate to have such perfect weather. Not too hot, nor too cold. The view was just as mesmerizing as I had remembered it.
There was a fair amount of people spread out at the top and I definitely got some strange looks. I heard the word kettlebell muttered a couple of times. One person approached me and asked in disbelief, “You actually carried that thing all the way up?” Here I am thinking that this might be too light of a weight for such a journey, but managed to still impress someone.
Honestly, my arms felt good but I knew that the hike was not yet finished. I tried to extend periods before switching arms to around 5 minutes. Just enough to put some good strain on each muscle but not feeling like I’m cheating by constantly switching.

Great shot of the lake and mountains.
The Descent

Down we go!
For the descent, this is where we deviated from our original hike 3 years ago. Instead of backtracking on the blue route, we took the Brook Trail (yellow). This provided us a fresh experience while also not having to worry about those treacherous rock slopes we battled on the way up. Being somewhat tired, it was the obvious choice.
Even though we were moving a steady pace, due to fatigue, it seemed to take quite some time to reach the bottom. We were passed several times by other hikers and groups. That’s okay, this wasn’t a race and for the most part everyone kept to themselves.
It probably took an hour to get from the top of the mountain to the base and I was absolutely feeling it. I’m glad I went with the 25 lb. kettlebell because anything heavier would have required frequent stops. The last half hour was especially tough. I must’ve held the kettlebell in several different positions. Carrying it on my shoulder, cradling it with two arms, and also switching hands much more frequently. My limits were certainly tested.
At the end of the entire hike, our total moving time was recorded at 2 hours and 48 minutes. Figuring in breaks and rests probably added an additional 20 to 30 minutes, making this hike hit the 3-hour mark. At that point, I placed the kettlebell back in the trunk of my car and remarked how proud I was of my wife and myself.
The Hike Then and Now
I promised you before and after photos and here they are. I’m still amazed at the progress we’ve made in our weight loss journeys. I’m also grateful to have such a loving and supportive wife who knew how much this hike meant and to add the additional challenge of bringing a kettlebell.
It’s a wonderful experience and I encourage anyone who wants to do the same to start off light. If you’ve never hiked a certain trail or mountain before, it’d be wise to do so without a kettlebell first. Remember, it’s about the experience. It doesn’t matter what anyone else is trying to accomplish. Take your kettlebell on an adventure and you’ll be rewarded with a workout that you can share with friends and family as an interesting story.

Then (2016)…

…And Now (2019)
By the way, it wasn’t planned that we would be wearing the same outfits. It just so happened to be that way!