
The Ultimate Kettlebell Training Program for Beginners
If you’ve never used a kettlebell before but have watched videos online, you might think to your self – “That doesn’t look so difficult”. The promise of achieving your own fitness goals with kettlebells is tantalizing. Yes, you can lose weight, build strength, and tone your body all at the same time with kettlebells. However, just because it looks easy doesn’t make it so.
Kettlebell Training Program Overview
NOTICE: This program is now included in the Ultimate Kettlebell Starter Kit. This kit offers a great value and will provide the training and knowledge you need to efficiently and safely use kettlebells to achieve your fitness goals.
If you’ve never used a kettlebell before but have watched videos online, you might think to your self – “That doesn’t look so difficult”. The promise of achieving your own fitness goals with kettlebells is tantalizing. Yes, you can lose weight, build strength, and tone your body all at the same time with kettlebells. However, just because it looks easy doesn’t make it so.
Performing kettlebell exercises in repetition can lead to quick fatigue, muscle strain, or even injury when performed incorrectly. There’s the misconception that because typical kettlebells aren’t some gargantuan weight like a barbell, it’s easy to work out with them. The truth is, you’re activating many muscles at once and the off-center gravity of kettlebells present a greater challenge than expected. They are a great tool and you CAN build muscle and burn calories faster than traditional exercising. Although, if you’re not exercising with them correctly you might become put off or experience a little pain.
In order to get the most out of kettlebell exercises and maximize your time when working out, it’s vital that you understand every step of the fundamental and basic kettlebell moves. This course for beginners ensures that you understand and can do just that. I recently had the opportunity to review the program instructed by Taco Fleur and it does not disappoint! Below are my thoughts and experiences of each lesson in this 21-day program.
Day 1 - Warming Up and Muscle Priming
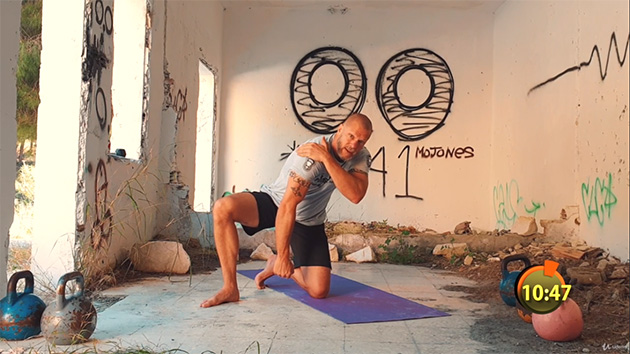
The first day of training is all about warming up and priming your muscles for kettlebell exercises. You won’t actually touch a kettlebell yet, but through Taco’s explanations, you’ll have a better understanding of the importance of warming up.
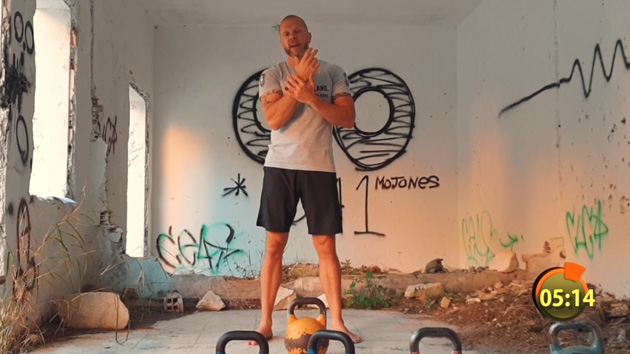
A timer is located at the bottom right of the video indicating the time remaining for each segment. The first few minutes feature several warm-up exercises, including rotational movements to help stretch the muscles. Once complete, the 2nd and lengthier segment is all about what Taco calls mind-muscle connection and muscle priming.
It’s hard to fully describe mind-muscle connection without going into specific detail. Essentially, the goal is to really feel each muscle that is activated/worked and how it relates to adjoining muscles. Most instructors just have you replicate their movements without explaining what is actually happening. Taco, on the other hand, tells you why it’s vital to think about each of your movements as it pertains to kettlebell training.
Day 2 - Stretching and Mobility
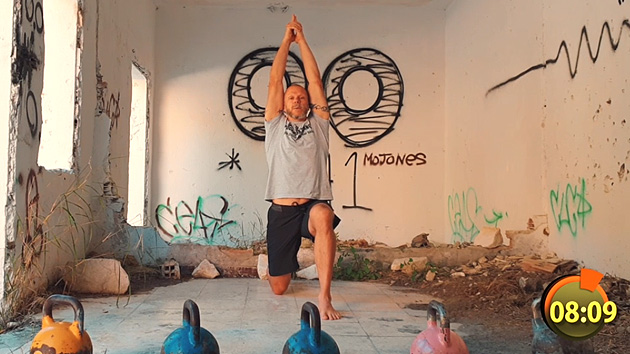
Just like the first day, no kettlebells are used during the demonstrations. Instead, you’re given detailed examples of stretching exercises and techniques. As someone who likes to jump straight into my kettlebell workouts, I appreciate the explanations as to the importance of stretching. It is suggested that you do these stretching exercises before, during, and after your workouts. Although, at the very least, before your workout.
One such exercise mentioned is the Jefferson Curl. That’s where you slowly bend your torso downwards while keeping your legs straight. For those of us with a beer belly, don’t expect to bend as far as Taco. In fact, he advises that if there is any discomfort during the process, you should stop. It’s a great exercise to gauge your progress to see how much further you can bend at various stages of your kettlebell training.
The last segment is all about the feet. Although not a requirement, it’s suggested that you train barefoot. There are several reasons that Taco gives as to why. Since I do my workouts at home, I’ve always trained without shoes on, mostly for comfort reasons. However, it’s nice to see some additional context when it comes to wearing shoes or not.
Day 3 - The Anatomy of a Kettlebell
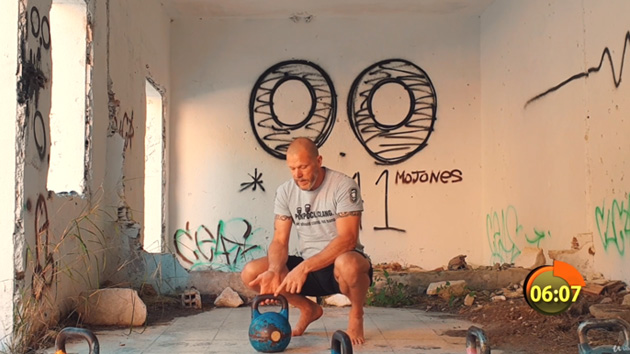
On this third day, yes, there is some interaction with the kettlebell. First, we learn about the different parts of a kettlebell. Many people probably only think of the handle and the base when they first see one. However, there’s also a couple of descriptive terms that aren’t commonly used in workout and training videos.
Why is it important to fully realize the anatomy of a kettlebell? Well, you want to make sure that you’re holding it in the proper spot depending on the exercises performed. Grip is extremely important. The more reps you strive for the better your grip strength must be. Trust me, it’s extremely frustrating on those rare occasions when the kettlebell slips out from underneath your fingers and comes crashing to the floor. Especially, during a hand switch or transfer.
There are a few different common grips that Taco shows. Of course, the day’s lesson wouldn’t be complete without some exercises that help the learner work on improving grip strength too. One of the most important aspects of today’s video is the level of tightness that should be used when using a kettlebell. Too loose and you risk slippage, too tight and you’re putting more strain on your wrist and restricting bell movement.
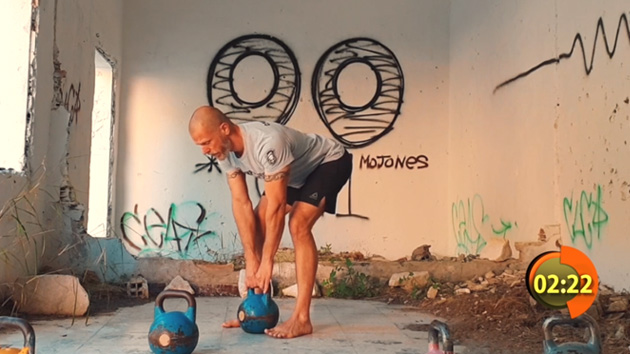
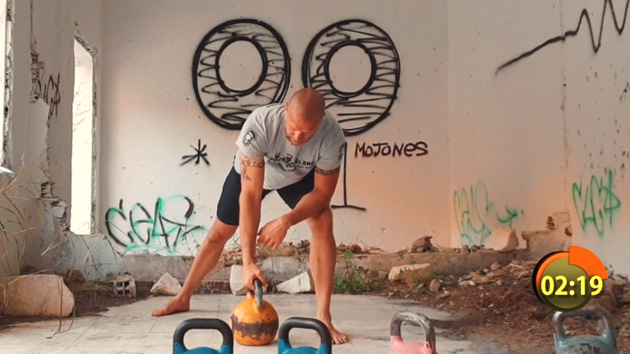
Day 4 - Squat Deadlift
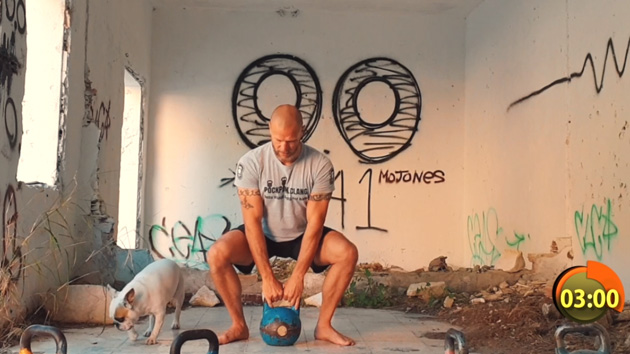
Now that stretching and an introduction to kettlebell training have been covered, it’s time to start learning how to properly lift the kettlebell. Taco takes you through the correct way of doing a squat deadlift. He also explains the meaning behind the term deadlift, as that is a common exercise with different variations.
You’ll learn where your legs and knees should be positioned as well as how not to be positioned. Towards the end of the lesson, you’re tasked with working on your flexibility and range with this exercise. In regards to technique, I really appreciated Taco pointing out a mistake that’s easy to make. That being, the tendency to bend over instead of doing a full squat.
Sure, this is a simple exercise. However, as far as the basics and fundamentals, it’s one of the most important. Think about how often we do activities similar to deadlifts. Moving boxes or heavy objects off the floor for instance. Ever hear the saying bend at the knees and not at the waist? That’s all about protecting your back from injury.
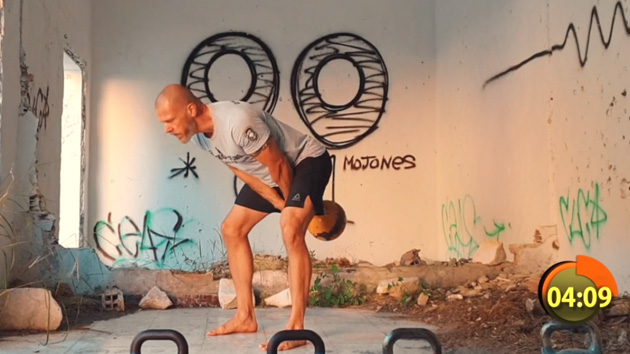
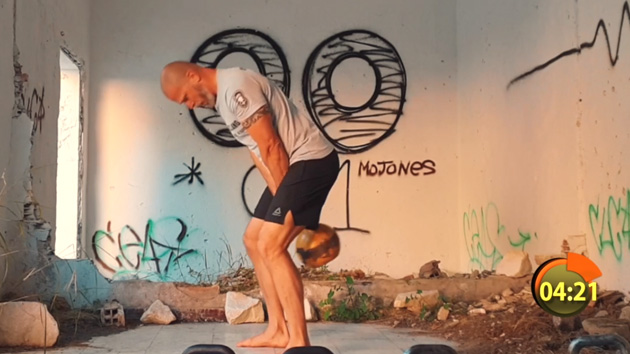
Day 5 - Hip Hinge Deadlift
Yesterday featured how to perform a deadlift by doing a squat. Today, Taco shows the right way to do a hip hinge deadlift. He points out these differences by mentioning the location of certain areas of the body throughout the process. Also of importance is recognizing where exactly the kettlebell sits before starting the lift. It’s not exactly the same spot as compared to a squat deadlift.
What if you can’t bend all the way down to pick up the kettlebell or lower it to the floor? Don’t worry, Taco has advice for that too. I think that’s what separates him from other instructors. He realizes that not everyone is capable of the same range. It’s not a negative, but rather just knowing one’s own limitations. After all, this is kettlebell training geared for beginners.
One thing I really liked from this video is the emphasis that this is a strength move. Speed is not the goal. There’s even a little discussion as far as what’s recommended for a breathing technique. It’s little details like this that really stick out to me.
No products found.
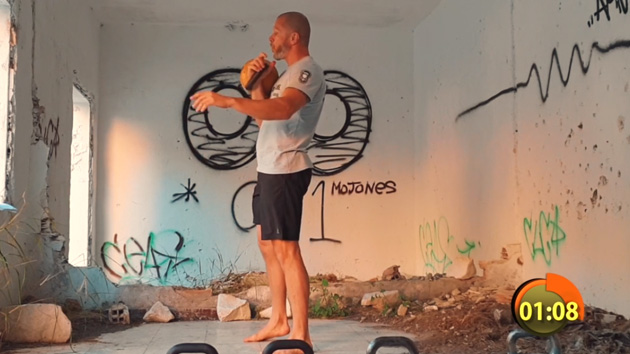
Day 6 - Assisted Clean
Almost a 3rd of the way through training, one of the most fundamental kettlebell exercises is explained and demonstrated in great detail. I’m talking about the kettlebell clean. However, it’s not your typical clean. Instead, we’re shown what’s called the assisted clean.
This variation is one that I’ve never seen before. It basically tasks you with using your free hand to help transition the kettlebell into the rack position. It’s a very clever way to force the correct hand insertion and rotation of the kettlebell for this exercise. A lot of kettlebell training videos might slow down the movement to help show the right motion, but none that I’ve seen come close to this level of detail.
One thing that stuck out to me in this particular video was the resting or rack position of the kettlebell. It’s something I never gave much thought to but becomes clear as to why it’s important to have your wrist aligned properly. Not doing so will cause some stress and fatigue in that area which could result in injury.
Day 7 - Squat Swing
Today’s video covers my most favorite kettlebell exercise, the swing. When I first started using kettlebells, all of the demonstrations that I saw were of the hip hinge variation of the swing. Little did I realize that another variation exists, the squat swing. I always thought that people were just doing it differently or sometimes incorrectly. Now I’m realizing that both are perfectly acceptable and that the difference between the two offers benefits that the other doesn’t.
It is the squat swing that Taco details in today’s kettlebell training lesson. Before even picking up the kettlebell he explains the difference between the two popular swing styles and talks in-depth about the different muscles each of them target. If you’re new to kettlebells, you’ll want to pay attention to where the driving force of the swing comes from (it’s not your arms!). You’ll also get some handy advice of where the apex of the swing should be and what to do if you’re over swinging.
Honestly, I’m glad that Taco showed the squat swing before the hip hinge swing. I admit I’ve been biased towards the hip hinge style. That’s most likely because I’ve seen some awful videos of poor technique of the squat style. However, watching this video shows that it can be performed in a nice fluid motion. I definitely have a new appreciation for the squat swing after today’s lesson.
Day 8 - Hip Hinge Swing
Naturally, the next lesson is, in fact, the hip hinge swing. Immediately after starting the video, it’s made clear that neither style of the swing is wrong. The only reason why one of them might be the wrong is if you intended to do the other.
After demonstrating the hip hinge, it’s easy to see how it differs from the squat swing. Taco explains the muscles that are used in this exercise, but also cautions against certain areas of the body that should NOT power this exercise. It’s refreshing to learn from a trainer who goes beyond the “do what I do” method of teaching by explaining common mistakes as well.
I’ve seen dozens of videos that show the hip hinge kettlebell swing. None of them detail when the hinging should occur, or the trajectory that the swing should follow. In this video, you get a full-speed look at the swing with the kettlebell and also a slow walk-through without it. When you’re ready, Taco encourages you to film yourself doing the swing and submit online.
For me, it’s hard to determine if I’m performing the exercise correctly at that moment. Having a look outside of your body and getting feedback on the technique is something that will definitely help master this move. It’s a learning experience first and foremost, and uploading your own video for review and critique might actually help others going through kettlebell training too.
Day 9 - Pendulum Swing
Just when I thought I had a grasp on all of the types of kettlebell swings, a 3rd variation is introduced. The pendulum swing is performed exactly as one might expect. I’m not entirely sure, but I believe this is also called the sport swing. Since I’ve been using kettlebells for weight loss, the most likely reason I’m not familiar with it is due to it being primarily geared for athletes.
Does this mean that it isn’t useful if you’re not looking to compete in kettlebell sport? Judging from the video, I wouldn’t be surprised if it isn’t the most physically demanding of the 3 types of kettlebell swings. As Taco points out, it’s designed for high rep counts and to go with the flow of your movements. It’s almost hypnotic to watch. Even though there really isn’t any resistance from your body during this swing, the fact that so many muscles are moving constantly and simultaneously surely provide a vigorous workout.
At the end of the lesson, Taco gives a brief comparison of what each swing is particularly good for. No, you’re not expected to incorporate each one into your kettlebell training workouts (unless you want to). It’s perfectly fine if you want to use the one that you’re most comfortable with. However, understanding the benefits of each will assist you in reaching whatever your personal goal may be.
Day 10 - Double Arm Swing Clean
When I first read the title for Day 10’s lesson, I made an assumption that two kettlebells were necessary for today’s exercise. In fact, the double arm swing clean only requires one kettlebell using both hands. From my perspective, that sounds like your standard Russian Kettlebell Swing. However, it is the last part, the clean, that separates it from your normal swing. It’s also not the typical clean I’ve seen hundreds of times before either.
I wasn’t aware of the wide range of different cleans there are until Taco elaborated on several. It’s almost unthinkable but I’m fairly certain he said there are No products found.. Wow! The one featured in this exercise has you letting go of the handle to catch the base at chest level. That sounds scary but Taco demonstrates a technique beginners like myself can employ that allows you to retain some control while making the switch.
The progression of this course is really starting to make sense too. It’s structured in such a way that the exercises and moves that were learned on previous days can be integrated into these new moves. For example, with this particular exercise, you may choose to do whatever swing style is the most comfortable. Hip hinge, squat, pendulum – all of them are appropriate to do with the double arm swing clean.
Day 11 - Dead Clean
Naturally, the next lesson involves another clean. The dead clean is the style I’m most used to and yet still struggle to execute perfectly each time. Learning when to rotate the bell into the rack position is a little easier now thanks to the technique of the assisted clean that was taught back on day 6. Failing to properly rack the kettlebell (such as flipping it over your wrist) is what leads to bruises and/or injuries.
I think part of kettlebell training isn’t just showing the what of each exercise, but the how and why too. Knowing where the power and drive comes from is key to avoiding mistakes. When you watch this video on the dead clean, Taco takes all of the guesswork out and gives you step-by-step instructions to help you better understand.
No products found.
Day 12 - Swing Clean
The 3rd and final variation of the clean in this kettlebell training course is the swing clean. This might be the most practical of the cleans since it’s easier to transition from other kettlebell exercises during workouts. Even though the move starts off as a swing, there is a huge difference as far as arm and elbow placement is concerned.
If proper placement is a problem nailing down for you, Taco has yet another trick up his sleeve that forces you to perform it the correct way. It’s a clever but not complicated method to ensure perfect technique. Tips like this one go a long way in helping with staying focused and motivated without getting deterred by any mistakes.
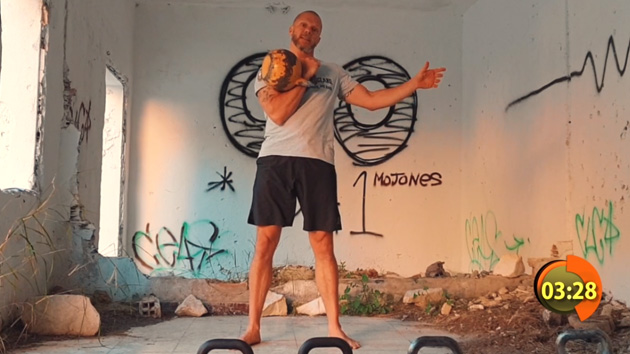
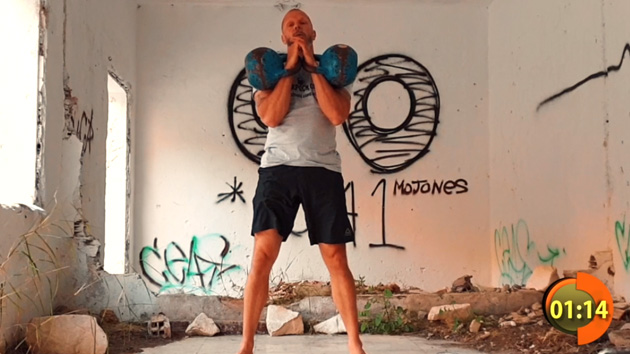
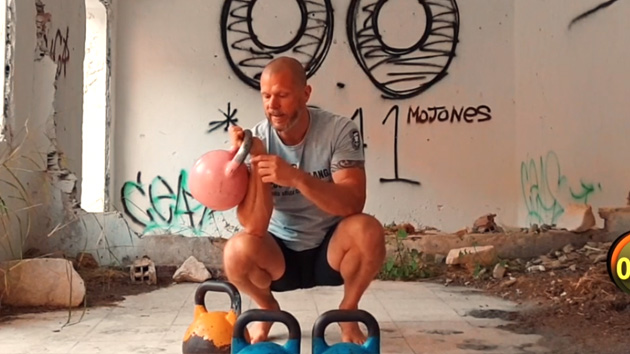
Day 13 - Racking
What comes right after cleaning the kettlebell? Why the rack of course! When the kettlebell is in this position, it allows an opportunity for rest. However, it’s also commonly used to transition to other kettlebell moves.
In the lesson shown today, Taco demonstrates a couple of these moves (some simple, others more complex) that otherwise are usually performed starting from a hanging or floor position. I find that going from the rack position is a great way to increase your total rep count if you’re becoming too tired without that momentary rest.
While the position of the kettlebell cradled in your arm isn’t all that difficult to grasp, it’s the angle and location of your elbow that is extremely important. Taco, once again, shows several incorrect locations that would put unnecessary strain on other parts of your body. He even shows an alternative racking position for women who are well-endowed.
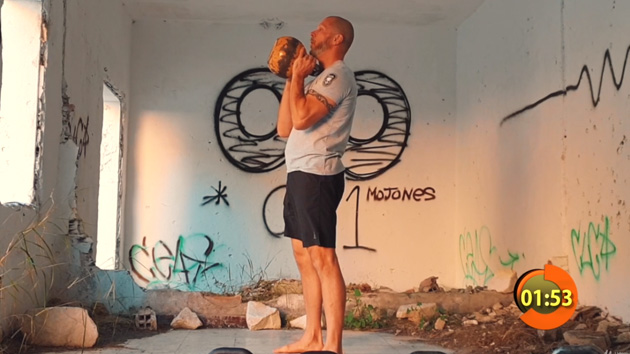
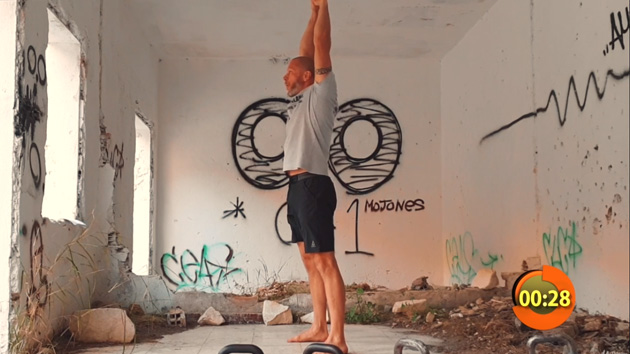
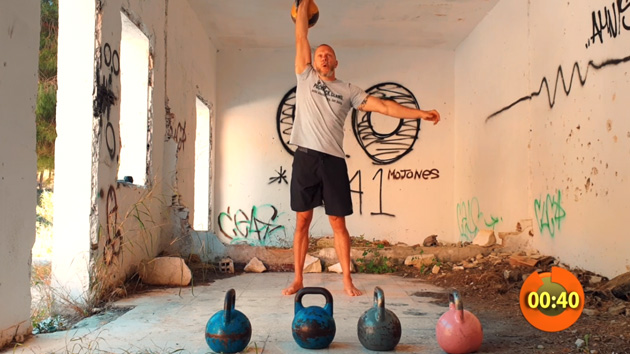
Day 14 - Pressing

2/3rds of the way through this course and the kettlebell exercise of the day is one of my favorites, the press. It’s a simple move but one that gives me a sense of accomplishment due to its motion and power attributes.
Since the press is an overhead move, there is a lot of emphasis on safety from Taco. He stresses that mobility and flexibility are paramount to achieving the lockout pose of the press. That’s when your arm is fully extended and locked into place. If you find it difficult to do, either try a lighter kettlebell or revisit some previous exercises in this course to work on your flexibility.
Day 15 - Rowing
The exercise that was demonstrated in today’s lesson is one of the more easier ones to perform. The row isn’t all that physically demanding which makes it great for putting up high rep numbers in a set. Taco shows two different styles of the row, although there are several other variations as well.
The main style, which features an open stance, is how I typically perform a row. I was curious what Taco would do with his free arm because in all the videos I’ve seen, it’s used as support on the bent leg. To my relief, he performs it just like that as expected.
I like how we get a couple of different angles of the row, one from the front and another from the side. It’s important because he talks about elbow positioning throughout the move which is something I never really thought about.
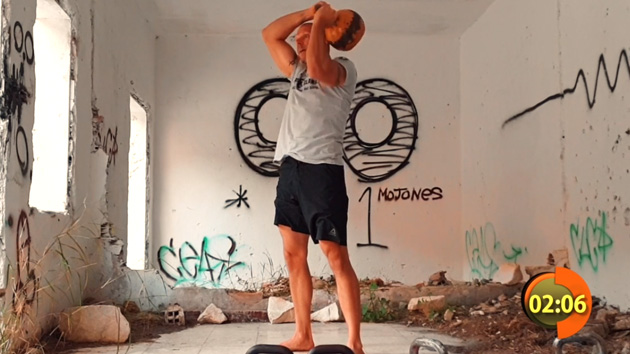
Day 16 - American Swing
It’s back to the swing today! Just not any swing, however. The American swing is controversial among the kettlebell community with many people saying it is inferior to the Russian swing. CrossFit, the company that is recognized as developing this version of the swing, would say otherwise.
Personally I prefer the Russian swing but I have no objections to the American version. Essentially, the kettlebell is swung completely overhead instead of peaking at chest level. This is not an exercise you want to rush into as you’re holding a heavy weight directly above you. Taco even points this out by recommending using a common household item to see if you have the flexibility for this move.
This might just be the shortest video in the kettlebell training course since it’s basically just a modification of the Russian swing. I wasn’t sure if Taco was going to cover this move but given that he has multiple CrossFit certifications, I suppose it isn’t all that surprising.
No products found.
Day 17 - Double Dead Swing Clean
Things are starting to get a little more advanced with today’s lesson featuring a double kettlebell dead swing and clean. You’d think that the only difference between a single and double variation is just adding another kettlebell. However, you’d be wrong!
There’s an important tip about how to grip the two kettlebells for safety purposes. This is a different grip than if you were to use just one kettlebell. It’s a mistake I could definitely see myself making. Once you watch the video you’ll understand the importance of changing the grip.
Day 18 - Recap and Tips

By now all the basic kettlebell exercises and movements have been covered. So the next logical thing is to recap these moves and provide additional tips and information. Taco doesn’t just rehash the same things he said previously. Instead, he gives some pointers on avoiding mistakes and even limiting the potential for damage when a move isn’t executed properly.
The most common mistake is when you bang your arms and forearms from improperly lifting the kettlebell. It’s something that I still struggle with. Especially as I get tired at the end of workouts. Thankfully, this is a course for beginners and as such, there is an expectation of failed movements that Taco realizes will occur.
While it’s important to strive for the correct technique during every rep, that’s just not realistic for beginners. This recap gives some excellent advice on how to transition from a bad move to minimize any banging or crashing of the kettlebell on your arms. One specific instance shows what to do when you’ve put too much force into a kettlebell clean and how to recover. It’s a great tip for newbies who might get discouraged by other instructors who only focus on the execution instead of common problems.
Day 19 - Programming and Goals
Do you know the main goal you want to accomplish with kettlebell training? If you’ve gotten this far the answer is most likely yes. After all, who would work out just for the hell of it? For me, I’d like to lose weight. However, there are many different ways people can benefit from working out with kettlebells. Identifying these goals and planning a course of action is the purpose of the lesson shown today.
While you probably have a purpose already for using kettlebells, it’s important that you plan accordingly. This includes choosing the right size kettlebell, exercises, rep counts, etc. Taco helps shed some light on the matter by suggesting recommendations based on goals for better flexibility, greater strength, or whatever it is you’re trying to accomplish. He also reinforces the fact that every person’s abilities are different and just because someone else might be doing 20 reps of a certain exercise doesn’t mean you have to match that.
I remember when I first started using kettlebells and how many trainers online said that the average man should use a 35 lb. kettlebell. I guess I didn’t fit in the category of average man because I started off with a 15 lb. kettlebell which kicked my butt! I’m now using a 35 pounder but it took a while to get there. It’s all about progression and not feeling ashamed because of the skill level you’re at. Taco understands this and offers encouraging ways to discover where you’re at within your own limits.
Day 20 - Working Out
All of the kettlebell training that has been taught thus far should have you ready to start working out. Of course, it’s perfectly fine if you’ve been working out with kettlebells before taking this program. I’ve been doing it for nearly a year but have learned some valuable lessons that helped me with my technique.
For those of you starting fresh with kettlebells, the video puts together a nice sample workout that takes some of the moves you’ve learned and shows you how to transition from one to another. This is what makes kettlebell workouts so appealing to me. Instead of doing one exercise, stopping and then moving on to the next, you want to seamlessly transition from one exercise to the next. This keeps your heart rate up and maximizes your workout time.
The example workout that Taco performs might seem pretty basic, but just remember, that what you see doesn’t necessarily equate to how you’ll feel. It may look easy, but if you’re doing it for 10 or 20-minutes the difficulty of sustaining is going to increase. Knowing how long and when to rest is a key component to getting the most out of your workouts.
Day 21 - Common Injuries and Annoyances
It’s the final day of the program and the focus is making sure that proper technique is used during kettlebell exercises. The one mistake that I can see a lot of beginners make is actually covered first. It involves the grip of the kettlebell and how it should be held. It’s nice to see the improper method of gripping outside of yourself. I never realized just how bad it looks! It’s a little cringe-worthy in my opinion!
Taco will also remind you of where your power generation for kettlebell moves comes from. Knowing this and lifting properly will ease the burden on places such as your lower back. Of course, there’s the whole banging of the wrists and forearms which is a common complaint of new users. How to avoid that is reinforced again and shouldn’t come as a surprise at this point.
Another problem deals with callouses and blisters on the hand. I asked Taco in an interview earlier in the year and he is absolutely anti-glove, which he also notes in the video! There is no way you can get the same feel as you can barehanded. While I agree with that, I purchased a pair of gloves that comes as close as possible to using bare hands and protects my palms. They’ve allowed me to continue exercising while the callouses healed. We’re on opposite sides here, however, I’m just an enthusiast while he has many years of experience backed up by a wide range of certifications. Similar to playing a guitar, with practice and patience the problem of blisters should eventually go away.
Final Thoughts On this Kettlebell Training Program
Even if you’ve already begun working out with kettlebells, you’ll want to take this course. Executing the moves correctly is the key to getting a safe and effective workout. I feel like I’ve learned so much and that’s with researching various other training videos for about a year.
At the end of this course, there’s a thank you message from Taco accompanied with a bonus lecture that includes links to various resources. You’ll get access to kettlebell groups where you can personally reach out to him and upload your training videos for evaluation. Unless you’re paying a lot of money, no other kettlebell trainer really does that!
There are a couple of ways to take this course. I’ve listed them both below. One is through blu ray/DVD and the other is sort of an online training course. Both are inexpensive are worth every penny! I’m confident that once you you take the time to go through each lesson you’ll come back with better form and technique for your kettlebell workouts.
4 Ways To Get This Kettlebell Training Program
Included in Starter Kit

DVD or Blu-Ray
No products found.

Also Available As a Book
No products found.